contact

A garage door's springs balance the door's weight so that you can open and close it effortlessly, whether by hand or with a motorized opener. With time, the springs supporting your garage door's weight may wear down, and you might need to replace them. A sudden, unexpected snapping sound could startle you in this situation.
However, this is obvious in most cases after you open the garage doors. If the door's springs break, the door will feel significantly lighter when lifted. The electric opener will also make a noise as it strains to lift the doors without the assistance of the spring.
The steps involved in replacing garage door extension springs are detailed here. Warning: working with coiled springs is not for the faint of heart. Thus, use a garage door maintenance specialist if you have limited DIY or comparable professional expertise.
Some extension springs are placed just above door rails that run perpendicular to the ceiling. Pulleys maintain pressure on the cords that lift and lower your garage door, and their one or two ends are linked to the rear track hanger. You should weave a second batch of safety cords around the coils of the extension springs to hold them in place if the springs snap.
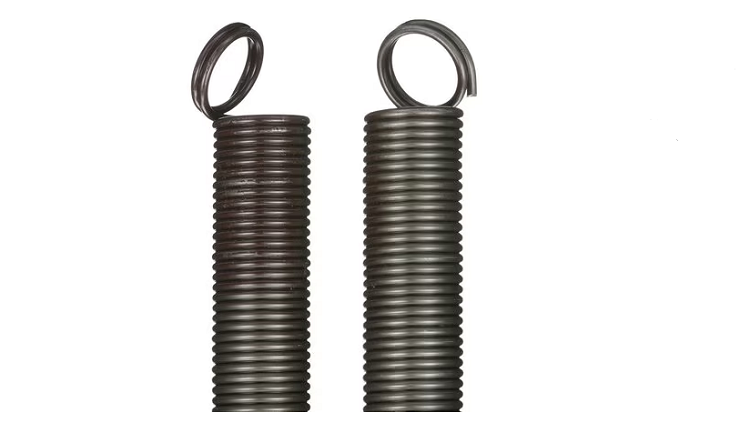
By lengthening, extension springs maintain cable and pulley tension. The springs can have a pulling force of anything from fifty to four hundred and forty pounds.
Their length is another defining characteristic, with measurements given regarding the fraction of a garage door's height corresponding to one inch. The typical lifespan of an extension spring is 10,000 cycles, but you may find springs with a lifespan of up to 20,000 cycles if you want to spend a little more money.
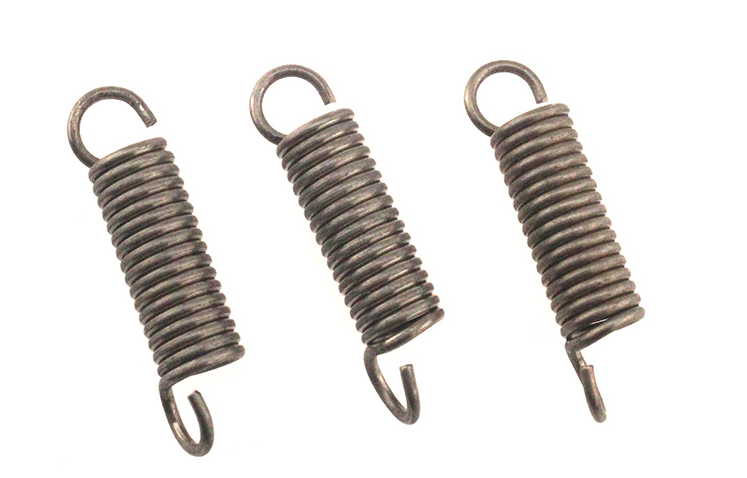
The first step should be to get a new set of springs that are not only identical in size but also tension to the previous ones. In most cases, a 7- or 8-foot-tall door should be enough. It is possible to buy them as individual springs or as part of a set with brand-new pulleys, cables, and installation hardware. Although you can replace the springs, the most recommended option should be to repair any worn components.
In this step, ensure the garage door is fully open. You can also check if the C-clamps are attached to both tracks to help prevent the door from closing on you while you're working. Apart from that it is also imperative to also use a long brace to block the door's bottom. Finally, unplug your garage door opener so it can't be mistakenly triggered.
The third step should be to remove the first extension spring's bracket from the door track's back (it's the one furthest from your door).
Here, you will be required to pull the lift cable out of the bracket above the door opening, where it attaches to the door rail. It will help you separate the movable pulley from the spring's end and unwind the slack cord.
After going through the above steps, you can now detach the safety cord from the spring. The removal of the garage door spring is now possible. Simply repeat steps 3-5 if you want to replace the other door's spring.
The next step should be to attach the end of the new safety cable to the track brackets as well as thread the line through the spring.
Before you can attach the lift cable, fasten the new spring's fixed end to the door track and the adjustable pulley. And then proceed to assemble the cable by threading it through the bracket on the door track. After doing so, up and over the stationary pulley, and finally loop it through the movable pulley at the spring's end.
You can finalize the cable's connection to the track bracket by gently stretching the spring before tightening the nut. Besides, ensure you repeat steps 6 and 7 for the opposite door's spring.
The last step should be to make your springs attractive. You can opt to apply a light coating of spray lubrication. And then proceed to disconnect the C-clamps and plug in your garage door opener again, but ensure the door opens and closes smoothly. Usually, the new springs may be stronger than the previous ones and, therefore, the lifting power of the door opener may need to be adjusted.
Assume you have not learned how to replace garage door extension springs despite having researched extensively. If that's the case, just give an expert call and set up a time for a free consultation.