

contact

A garage is often one of the most overlooked areas of the house. However, understanding and properly utilizing your garage space will significantly improve your entire house. Most modern houses today have garage spaces.
The benefits of a garage space in a home are numerous and widespread. You can use the space for placing your car whenever not in use or you can use it as a storage area. In some innovative cases, the garage may also be used as an extra room.
At one point, you may realize your garage door is acting differently. This is likely an issue with the garage door springs. Apart from being at the center of your garage door’s operation, they bear the weight of the garage door’s weight when opening or closing.
Garage door springs require maintenance every now and then. After continuous use, the springs build up tension and can easily malfunction. Regular maintenance majorly involves removing the pent-up tension. In this comprehensive guide, you’ll learn how to adjust garage door springs in easy steps and in the end you should have fully functional and efficient garage doors. This simple guide will ensure your garage doors work for longer and you incur less cost on professional maintenance work.

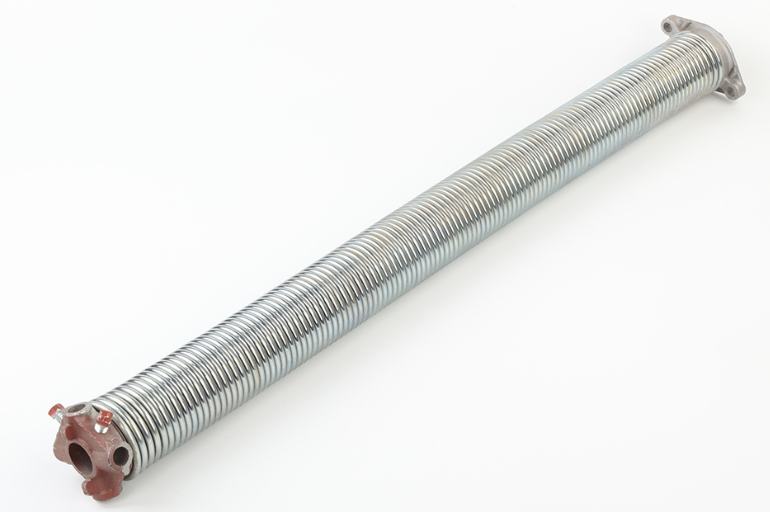
There are two main types of garage spring doors. These are extension springs and torsion springs. While they work differently, you’ll know it's time to adjust the springs when the door starts acting differently. For example, you may realize it’s taking longer than usual to open. In other cases, the door may lag before starting or get jammed at some point when trying to open or close it.
As mentioned earlier, you will find two common types of garage door springs. The spring adjustment guide varies slightly for both. To remain compressive, let’s look at the adjustment procedure for each spring type.
Start by assembling your essential tools to ensure success and your safety. These tools and equipment include a hard hat, safety gloves and eyeglasses, a C-clamp, a ladder, masking tape, a wrench, and two winding bars.
For those who are using automatic garage doors, ensure you unplug the opener and put the clamp on the door’s track. It will help prevent the door from opening while you make adjustments to the spring.
This step involves funding the cone and unfastening the screws. The winding cone is located just where the spring ends. It has equally spaced holes and is relatively easy to see. Start by inserting the steel rod to loosen the screws at the center of the shaft.
After unfastening the screws, place the two bars in the space. For maximum safety, ensure your head and body are away from the spring in case it breaks.
This is an often slow process that requires precision. Start by winding the cone to adjust the tension. You might have to adjust slightly and then check if that’s the desired level.
After adjusting the tension, you can then move on to stretching the spring. This involves leaving the lower bar in place and disconnecting the other. Then pull the bar gently back towards the plate’s center.
Finally, return the 4 screws and secure them in place using the wrench. After everything is back in place, test the door and check its response.
The tools required for this process are similar to the ones listed in the torsion springs adjustment procedure.
For homeowners using automatic doors, ensure you use the remote to open the door and then pull the emergency cord. For manual doors, open them as far as it goes. Besides, as a safety measure, you can place a C-clamp under the bottom rollers- just in case.
Find the spring hook and use the wrench to remove it. It’s held in place by an easily removable nut. Next, adjust the spring to your desired preference.
Finally, return everything in place, test the garage door, and ensure you put the above simple guide into consideration to help keep your garage door functioning at its top-notch condition.


