

contact

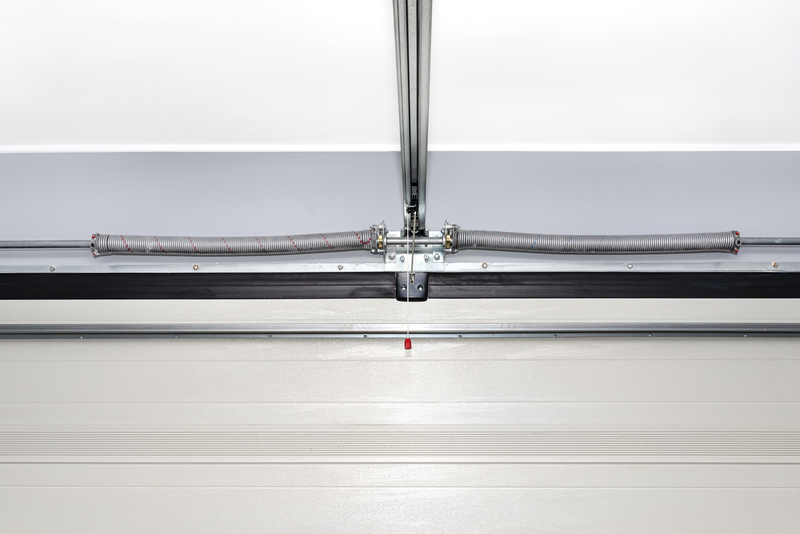
Your automatic garage door operates using either torsion or side-mounted springs. These ensure that you open and close your door with the touch of a button. To keep them effective, you need to carry out regular checks. You might also have to adjust them if they get loose. Here is how you go about adjusting your garage door springs.

Before you get started on the door, ensure you have the right tools. Not only will they make your work easier, but they’ll also ensure you don’t get hurt in the process. These are some of the tools you will need:
Here is how you adjust your side-mounted springs
You need to relieve all the tension in the springs to work on them. The only easy to do this is to ensure you open it to the end. Once you are sure your door is open to the end, pull the emergency code until your door stays jammed in the open position. That way, there will be no accidents when working on it.
With the door fully open, all that’s left is to execute it using your clamp. Place your clamp below the roller, holding it as you work on the spring.
You must first detach your spring hook to start working on your springs. Ensure you detach the end responsible for the tension in the spring. Removing the spring hook on this end allows you to move it around to increase or decrease the tension on the hoop.
With the spring off the hook, you can now adjust it accordingly. If the door does not close fully, you need to decrease the tension in the spring. Conversely, if your door closes too fast, you need to increase the tension.
Another thing you need to remember to do is to adjust the tension on the safety cables. It goes a long way to ensure that the tension on the springs holds. You can increase the tension by shortening the cable and decreasing it by making it longer. Ensure you do this every time you adjust your springs.
Once this is all done, lubricate the springs and the rest of the door. Ensure it opens and closes smoothly and closes down.
Regarding torsion springs, you will prep them as you did for the side-mounted springs. Once you have the clamps, you will move on to these steps.
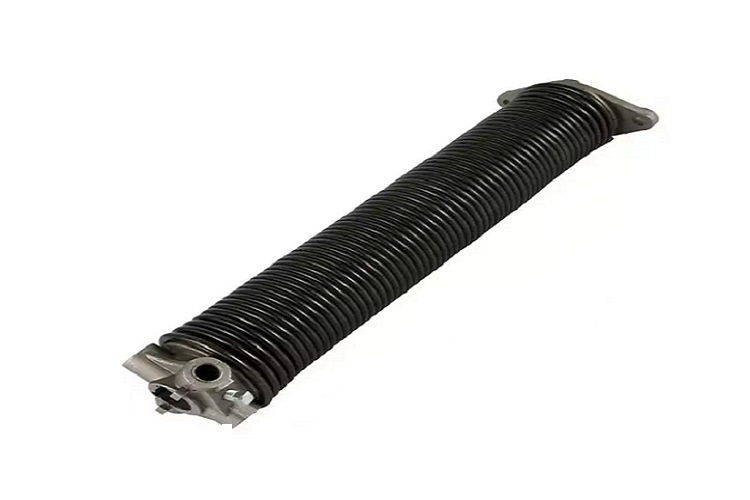
It might take a while to see where your spring ends, but ensure you find it. The end of the spring is where the winding cone of the spring is found.
Your winding core comes with two sets of screws used to lock the spring in shape. Find these screws and loosen them up. Use your wrench to make this easier.
Once the screws are loosened, wind the cone in or out to the possession or tighten the spring. The choice to tighten or loosen the cone will depend on how your door behaves.
With the cone tightness, stretch the spring to fit the length of the cone. You will need to mark the spring and then apply a force from below so your spring can get to the required length.
Once you have the spring in place, all that is left is for you to get the screws tightened. Ensure you get this tension right, as it will determine how long your door will maintain the tension on them.
With everything done, all left is for you to test and then lubricate the springs out your door. Repeat the steps above if it has an issue until you get it right.
The kind of tension you have in your springs will determine how functional your door will be. The one thing you need to remember is to be careful when working on the springs. They might snap and hurt you if you are not careful. Wear your goggles and keep your gloves on at all times. When it comes to adjusting the tension, do so slowly. You might need to adjust it several times, but it is better than increasing or decreasing it too much.
Adjusting your garage door spring is something you need to do occasionally. It ensures everything works perfectly and prevents accidents with your door. Follow these steps and see the difference it makes to how efficiently you can open and close the doors.


