

contact

Is your garage door noisy, faulty, or broken? Ensuring it operates at its top-notch condition should be critical not only for security purposes but also for peace of mind. The last thing you want for your garage is a door with faulty springs. They can completely fail the more you strain them and might eventually bring down your garage door.
But how do you identify broken springs to enable you to repair them before they become a disaster? All you need to do is troubleshoot your door springs occasionally. Read on for a detailed insight into how to troubleshoot your garage door springs in the shortest time possible.
Let’s delve in!

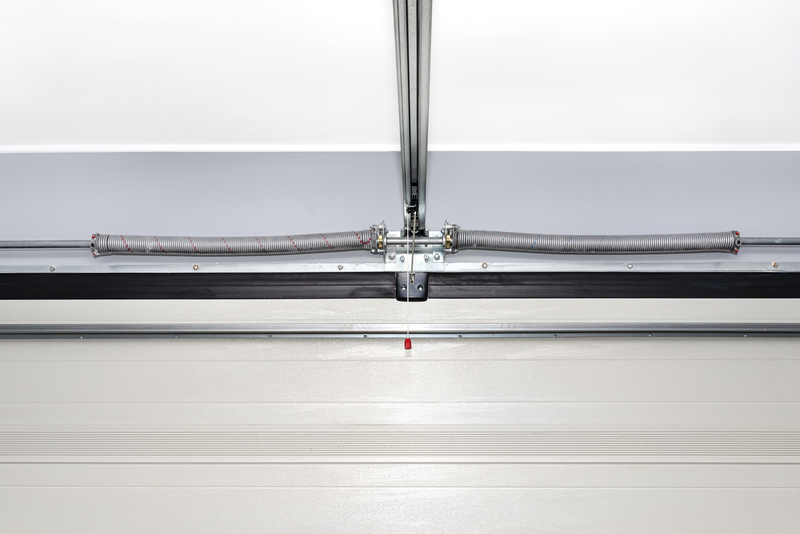
First things first! Before troubleshooting, you need to be sure your garage door uses springs. There are two main types of springs used in garage doors. You can either find torsion or extension springs. Torsion springs are located across the top of the door, while extension springs are on either side.
If your garage door uses a lift system, you will find them at the top. Technically, to lift the door, the springs apply a twisting force to the drums at the end, which, as a result, pulls the cables connected on both sides of the door. Most large doors have two springs, with the small doors having only one spring.
So, how do you know if your garage door spring is broken? You can use two main ways to identify if you have a problem. Firstly, if you are lucky to be around when the spring is breaking, you will hear a loud pop akin to that of a firecracker.
Secondly, if your opener motor is working, but the door won’t open, or you hear the springs straining to lift the door, your springs are highly likely to break.
Remember the firecracker sound we talked about? That was the sound of a spring snapping and releasing lots of energy. For safety purposes, it is recommended to ensure you follow the required troubleshooting steps to avoid risking injury from the spring or the door falling. Here is a highlight of the required steps:
Before doing anything, you should start by locking down the door with a C-clamp or pliers. It will prevent the door from opening up and injuring you in the process. You should also unplug the door opener and yank the door before doing any repairs.
Also, wear the recommended safety gear, such as leather gloves and eye protection, throughout the replacement project.
Insert the winding bar into the holes of the winding cones and hold the bars in place as you loosen the setscrews. Note that the spring will push with a bigger force as it releases, making it necessary to ensure you hang on tight.
Remove all the nuts and bolts used to fasten the spring and slide down the springs towards the ends. You can use a C-clamp or locking pliers to hold the torsion springs in the tube bracket before loosening the screws.
Slide the torsion bar to the left on the center bearing and install the spring on the right. After doing so, push the bearing towards the stationary cone and reinstall the drum.
Replacing all the old and rusted parts before you can install new springs is recommended. Get your new lift cable and loop it over the new bottom bracket. Swap in the new cables and bottom brackets, then insert the new roller.
Run the cables between the rollers and slide the lift cable through the drums. Tighten the drums and wind the tension springs.
Stretch the springs one-half to three-quarters turn and finish by running tests to ensure the door is in top-notch condition.
It is almost impossible to open garage doors without the springs. The springs act as a counterbalance with the openers, allowing the garage door to close or open according to your will.
And now that you know how to troubleshoot and repair them, it will be possible to attempt to fix them. Alternatively, you can always contact a professional if it proves to be challenging.
At GL Metal, we are your one-stop solution for all your springs and garage door needs. Contact us today, and let us get your garage the right spring.


